InstallGet the free iPhone app and install AirSampler Bridge on Mac.
PairKeep iPhone and Mac on the same Wi-Fi, open both apps, and enter the pair code.
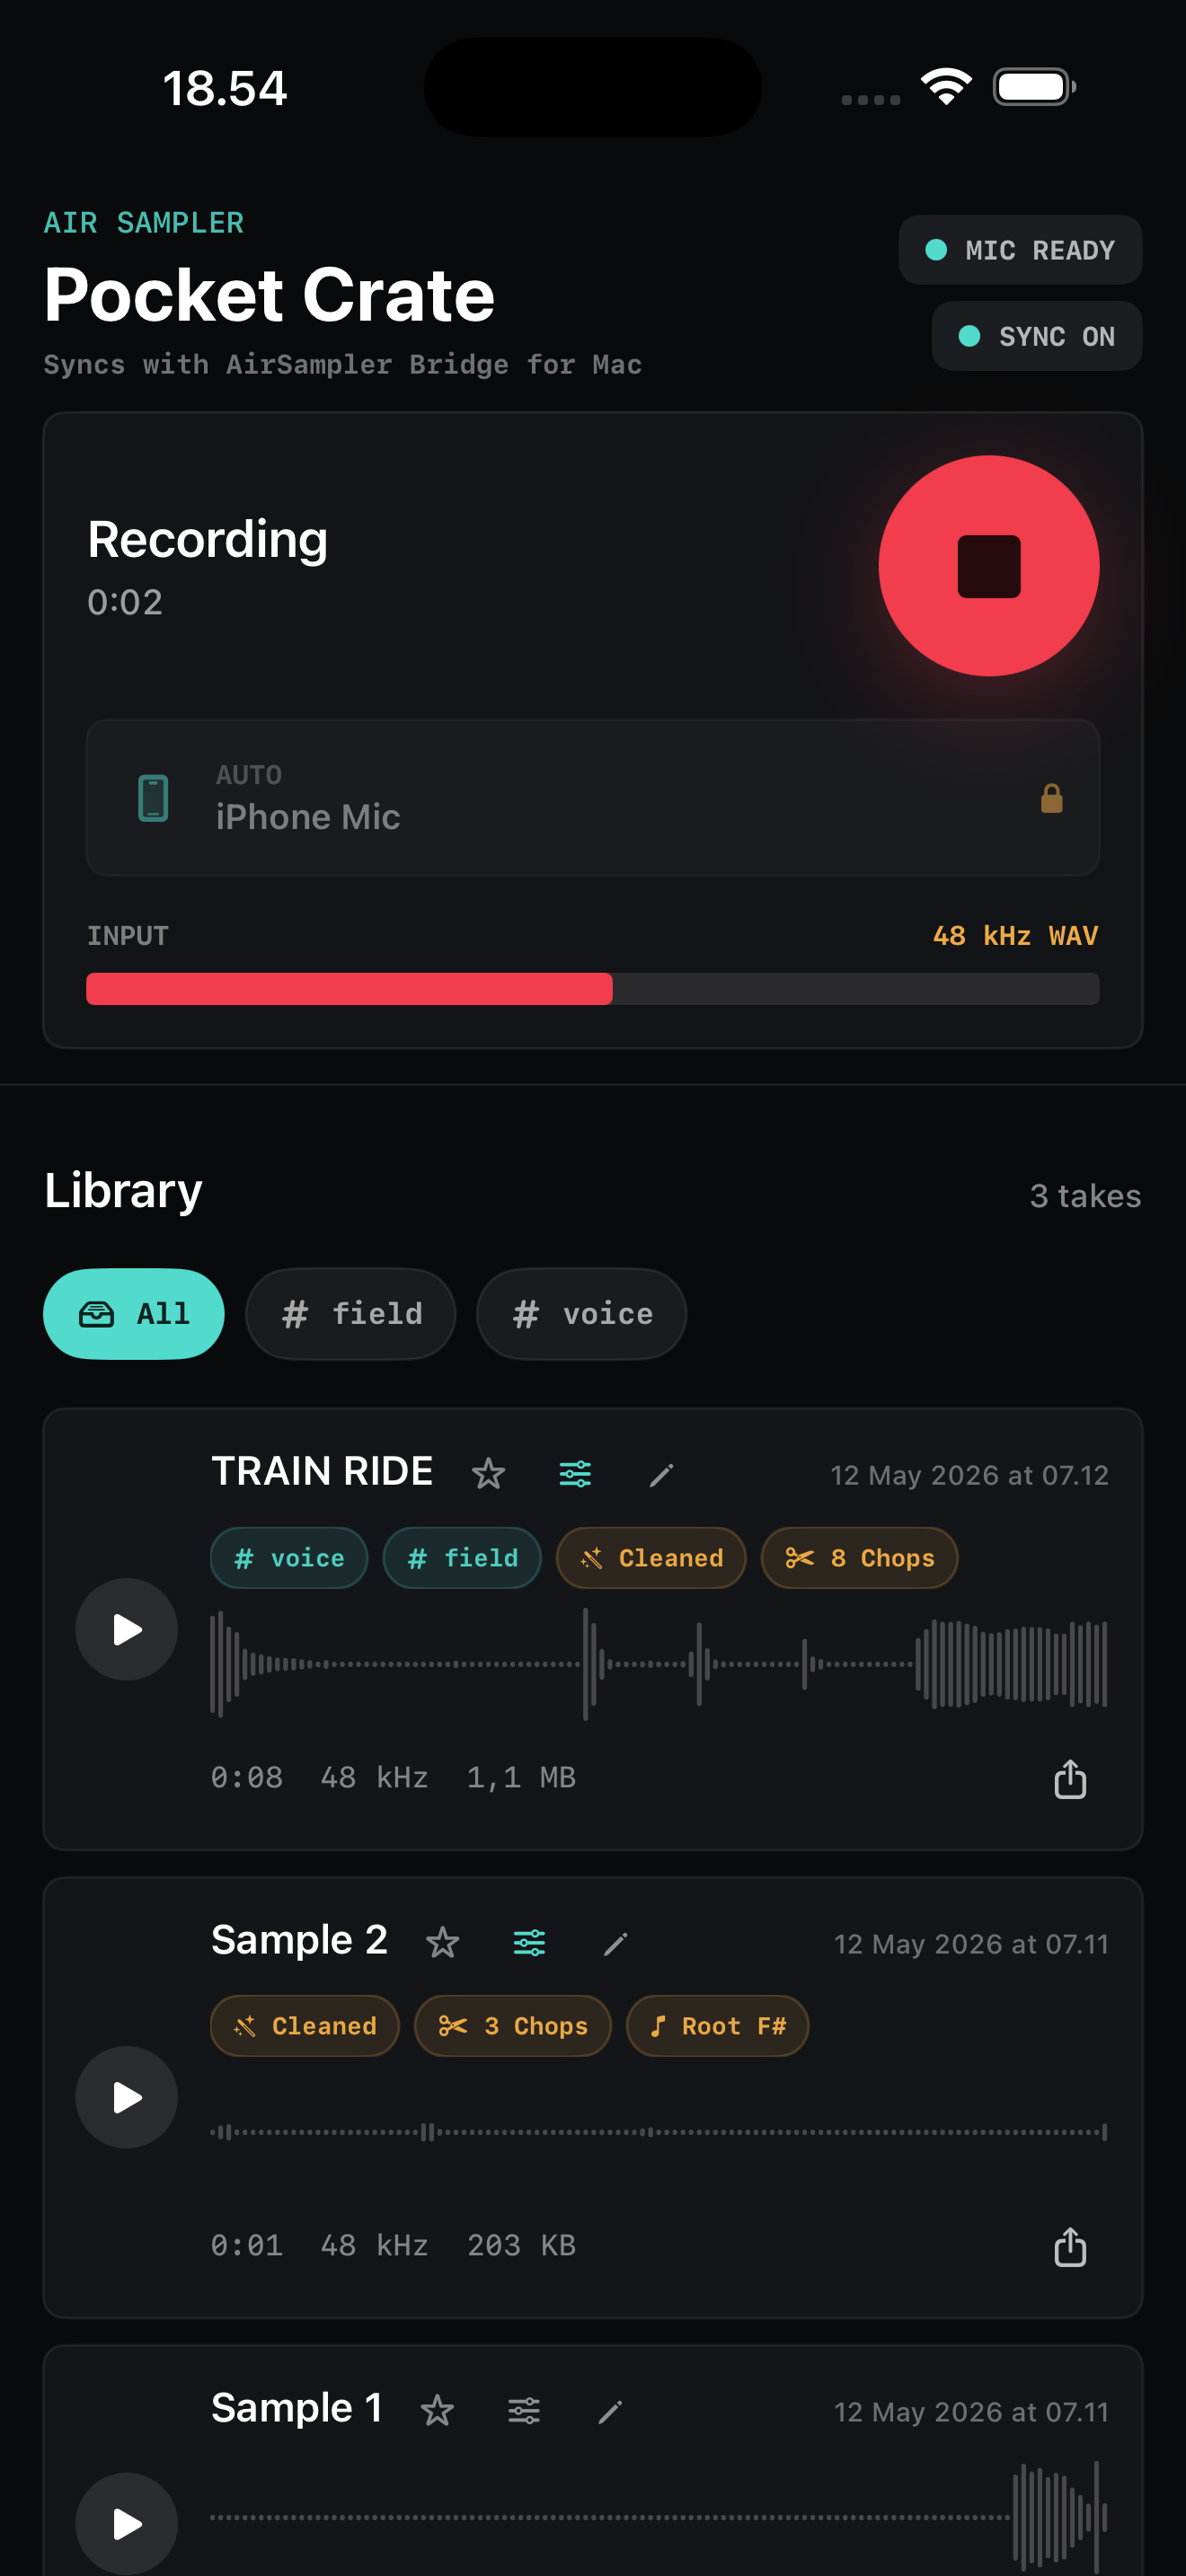
RecordTap record on iPhone. Stop when you have the sound. The take is saved as WAV.
PrepareUse Bridge to preview, rename, favorite, edit, clean, normalize, or chop.
DragOpen the AU plugin or Bridge and drag the full sample or chop into your DAW.
The iPhone app works by itself. Bridge and the AU plugin are the Mac studio workflow.
REC
iPhone app
Record and organize sounds.
Record a sample
Open AirSampler on iPhone.
Allow microphone access when iOS asks.
Tap the large record button.
Record the sound you want.
Tap stop. The recording is saved as a WAV in the library.
Quick recording from the Home Screen
Add the AirSampler widget to the iPhone Home Screen.
Tap the widget when you want to start fast.
AirSampler opens and starts recording.
Stop the recording in the app.
Record first. Name, favorite, tag, edit, or share later.
PreviewRenameFavoriteTagsShare WAV
EDIT
Editing
Trim, fade, normalize, and clean.
Start
Move the start handle to remove silence or unwanted sound before the good part.
End
Move the end handle to remove extra audio after the sound.
Fade in
Add a small fade if the beginning clicks or feels too sharp.
Fade out
Smooth the ending so the sample does not stop too abruptly.
Normalize
Raise the sample level safely when the recording is too quiet.
Clean
Try a lighter cleaned version. Turn it off again if you want the original.
Use Preview before applying. Edited samples are marked as edited in the library, Bridge, and AU browser.
CUT
Chops
Split one recording into playable parts.
Lower sensitivityFewer, longer chops.
Higher sensitivityMore, shorter chops.
Open the sample tools.
Turn Chop on.
Move the sensitivity slider.
Wait for AirSampler to find transients.
Tap a chop to preview it.
Use the full sample or drag out a single chop.
Chops made on iPhone sync to Bridge. Bridge and the AU plugin can preview and drag those chops as separate WAV slices.
MAC
Mac Bridge
Your synced sample library on Mac.
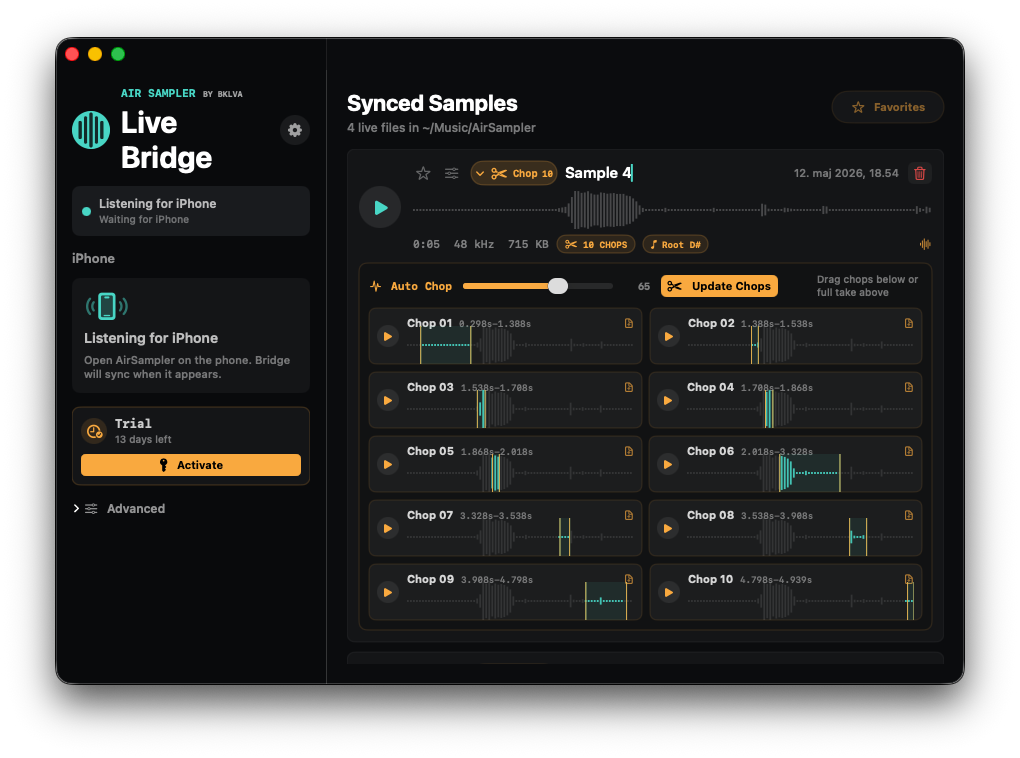
Bridge is the hub: sync, preview, edit, chop, delete, and choose your sample folder.
Pair iPhone and Bridge
Open AirSampler Bridge on Mac.
Open AirSampler on iPhone.
Keep both devices on the same local network.
Enter the pair code shown by the iPhone.
After pairing, sync runs automatically in the background.
Use Bridge
Preview samples with the play button.
Adjust preview level near the top controls.
Switch between single and loop preview.
Rename, favorite, edit, auto chop, or delete samples.
Choose where synced WAV files are stored.
AU
AU plugin
Browse AirSampler inside your DAW.
Open your DAWAdd the AirSampler AU plugin to a track.Let Bridge sync firstThe AU reads the Bridge library automatically.Filter favoritesUse the star filter to focus on the sounds you marked earlier.Preview and expandPlay full samples or expand a sample to show chops.
If the AU does not show files, open Bridge once and confirm the samples are visible there.
DROP
Drag and drop
Move sounds into a project.
BridgeSample or chopDAW timeline
Drag from Bridge
Find the sample in Bridge.
Drag the sample or file icon into your DAW, Finder, or another WAV-friendly app.
Drop it where you want the audio file to appear.
Drag from the AU plugin
Open the AU plugin in the DAW.
Find the synced sample.
Drag the sample row or chop into the DAW arrangement.
The DAW receives the WAV file from the Bridge library.
KEY
License
Free app, paid Mac bundle.
iPhone app
Free recorder and local sample library.
Mac bundle
Includes AirSampler Bridge and the AU plugin.
Trial
Try the Mac workflow before activation.
Activation
Enter the Lemon Squeezy license key in Bridge. The AU follows Bridge.
FIX
Troubleshooting
Common fixes.
Bridge does not find the iPhone
Check that iPhone and Mac are on the same Wi-Fi network.
Allow Local Network permission for AirSampler on iPhone.
Open the iPhone app after Bridge is open, or open Bridge after the app.
Restart Bridge and AirSampler if the network changed.
The AU does not show samples
Open Bridge and confirm the samples are visible there.
Check that the sample folder exists and contains the synced files.
Close and reopen the AU plugin after Bridge syncs.
Drag and drop does not work
Try dragging from the file/drag icon or the sample row.
Make sure the target DAW track accepts audio files.
If dragging a chop, make sure the chop has finished rendering.
Pairing feels wrong
Only pair with your own Mac.
If needed, forget or unlink the pairing and pair again.
The pair code is only shown when there is something to pair with.